Easy peasy autograph books
Who doesn’t love to save time? Don’t raise your hand! I know when I’m prepping for a magical vacation, I want to do as little as possible while doing as much as possible. This means, I want to make it as wonderful as possible for my kiddos but not spend hours and hours slaving over just one project alone. That’s why I like to include them as much as possible when choosing things for our trip!
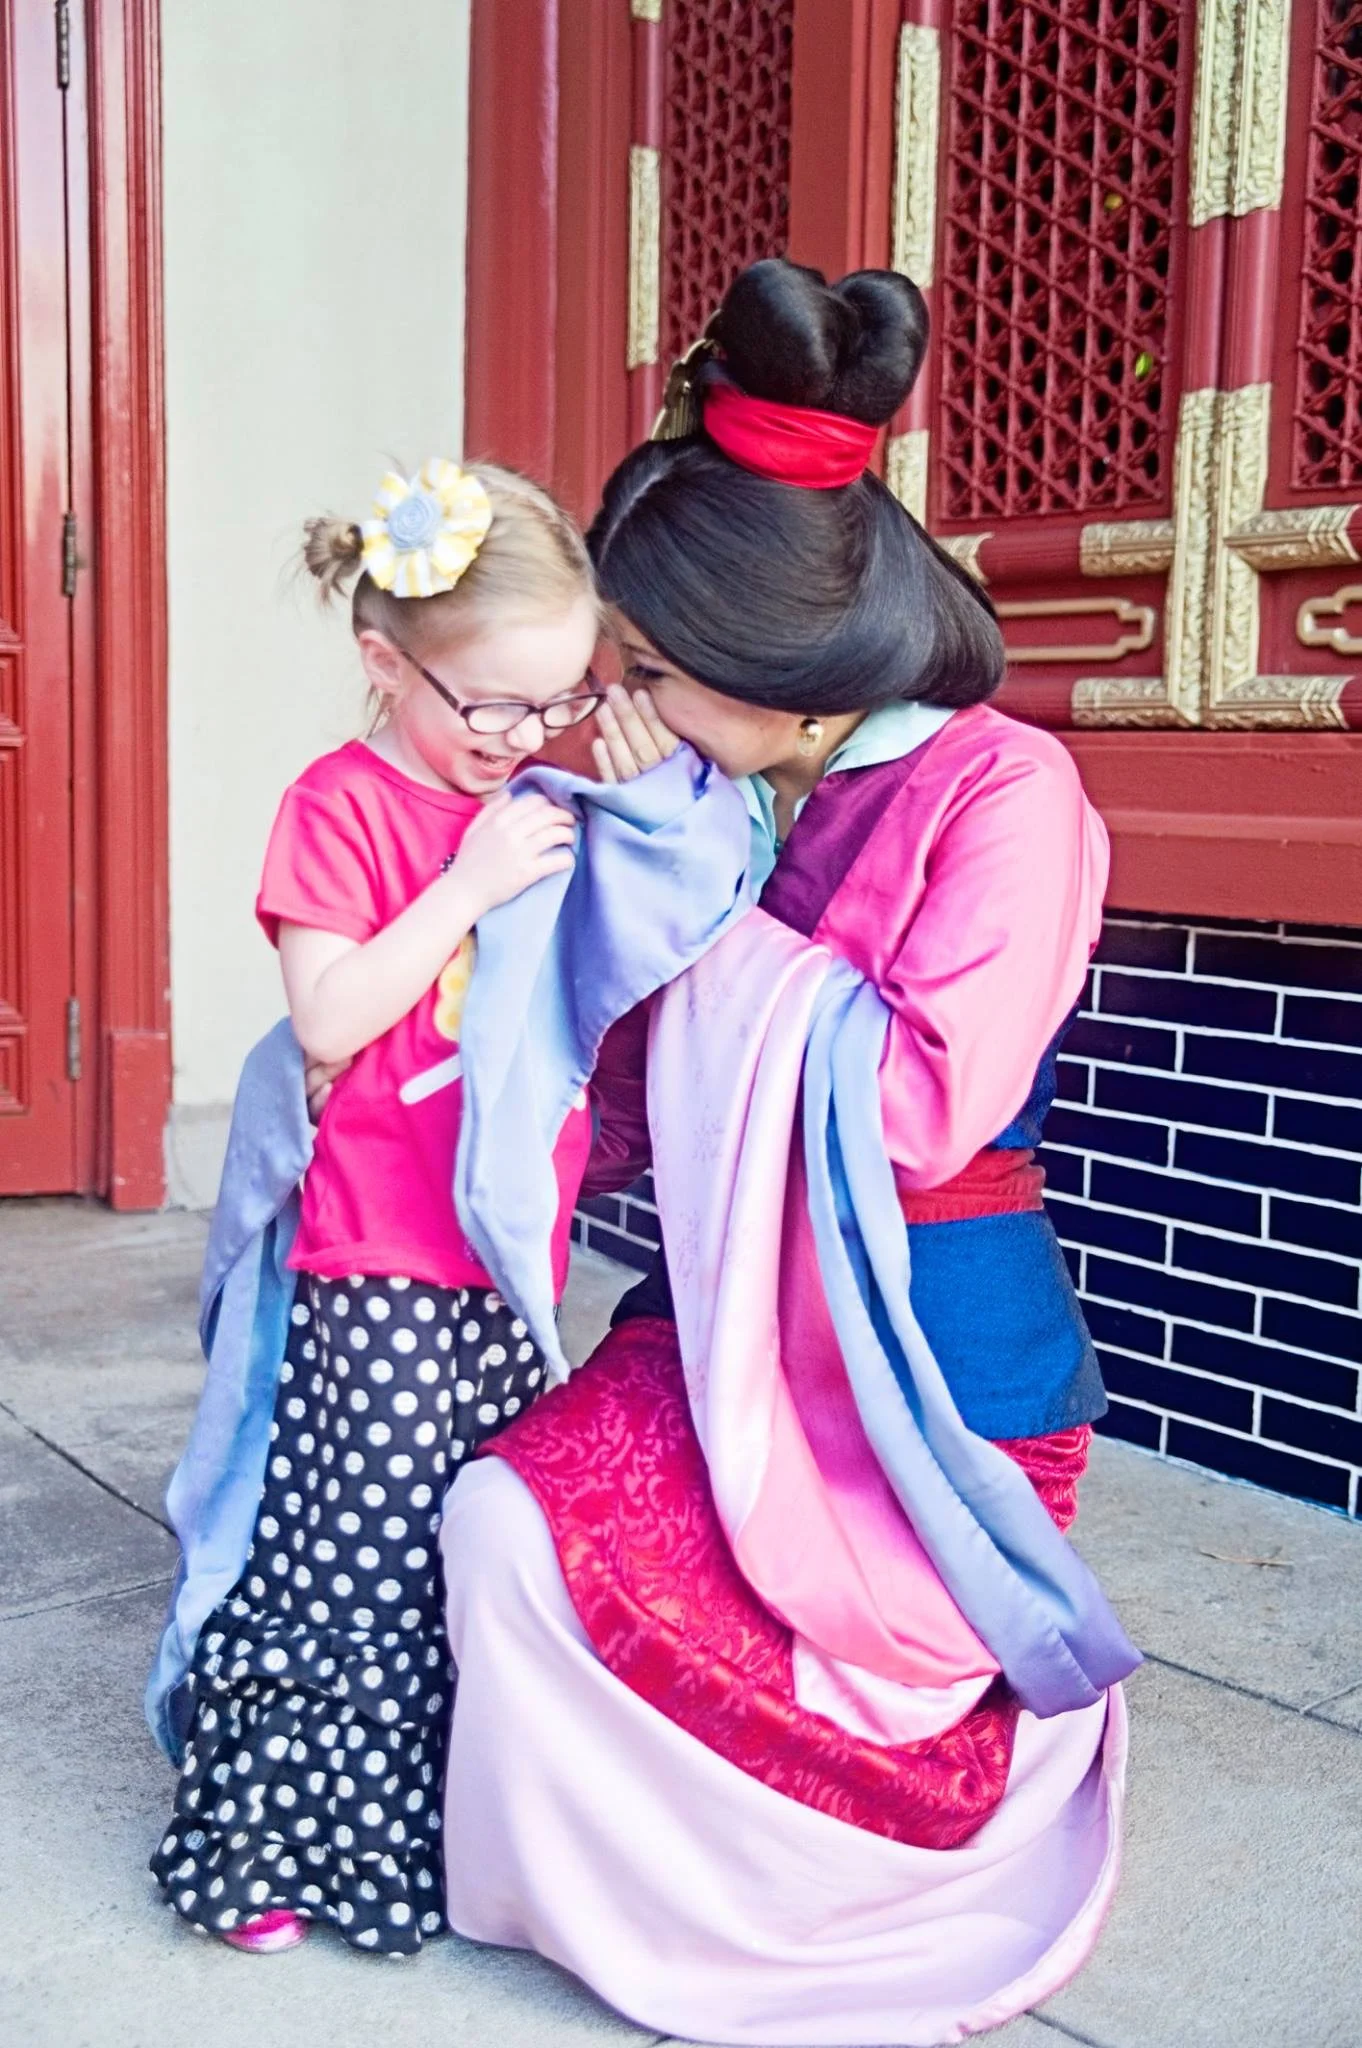
One super easy project that everyone can do and all your kids can participate in is making a super fun autograph book! Autograph books are so much fun for your little ones to have while on a trip, especially if it’s their first time. They just can’t wait to meet all those characters in real life that they’ve been watching for years at home. That’s the magic! To me, it’s the most unique part of a Disney vacation. You can go anywhere to ride rides…but only Disney has that extra magic and brings stories to life.
But, why stop at an autograph book? Why not make it a ready-made scrapbook as well? After all, you’re probably taking advantage of your unlimited Photopass photos with Memory Maker anyway, right? That means you’ll have so many photos to save and print after your trip! Might as well make a scrapbook for them before you even get to the parks.
So, how do I make an autograph book/scrapbook my kids can help me with? It’s easy! Here’s how.
First, go to a craft store. Let them pick a 6x6 or 8x8 blank scrapbook and refill pages…you’ll need 40 pages for 20 characters.
Next, pick some papers that remind you of your favorite characters you hope to meet! Keep in mind which characters will be at the meals you have scheduled, etc. and try to make for the ones you know you’ll see. Check the My Disney Experince app and see which characters are in each park if you’ve never been…and make a list with your kids! Who are their must-sees? Even if you have been before, making pre-trip lists with kiddos is so fun and such an easy way to get them excited. Now that you’ve chosen characters…chose your papers! Think of their colors and go for solids, polka dots, stripes, and fun patterns.
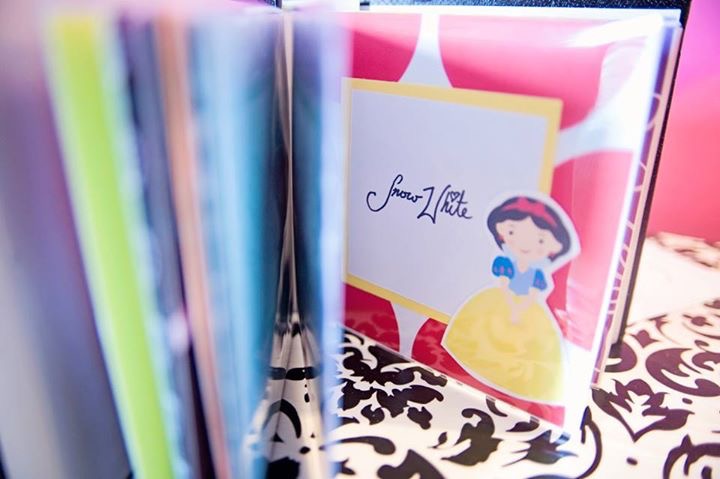
Now, go home and get on your computer. Go to a place like Etsy and go nuts searching for clip art for everyone you are making pages for! This is the most fun part for kids. Some shops have packs that include dozens of characters, like this one…and you get the most bang for your buck! Let your kids help you decide which to get. It’s fun!
Now you’ve got your paper, your printed clip art characters (I would make sure they were sized to about 2-3 inches tall each when printing. You can just insert the images into a word document and resize them using the rulers along the edges of the screen) and your scrapbook and pages. Next step-cut our your characters. Your bigger kids could do this part while you use your cutting board to cut squares to fit into the pages you purchased. Meaning, cut a 6x6 paper if that’s the size of book you bought.
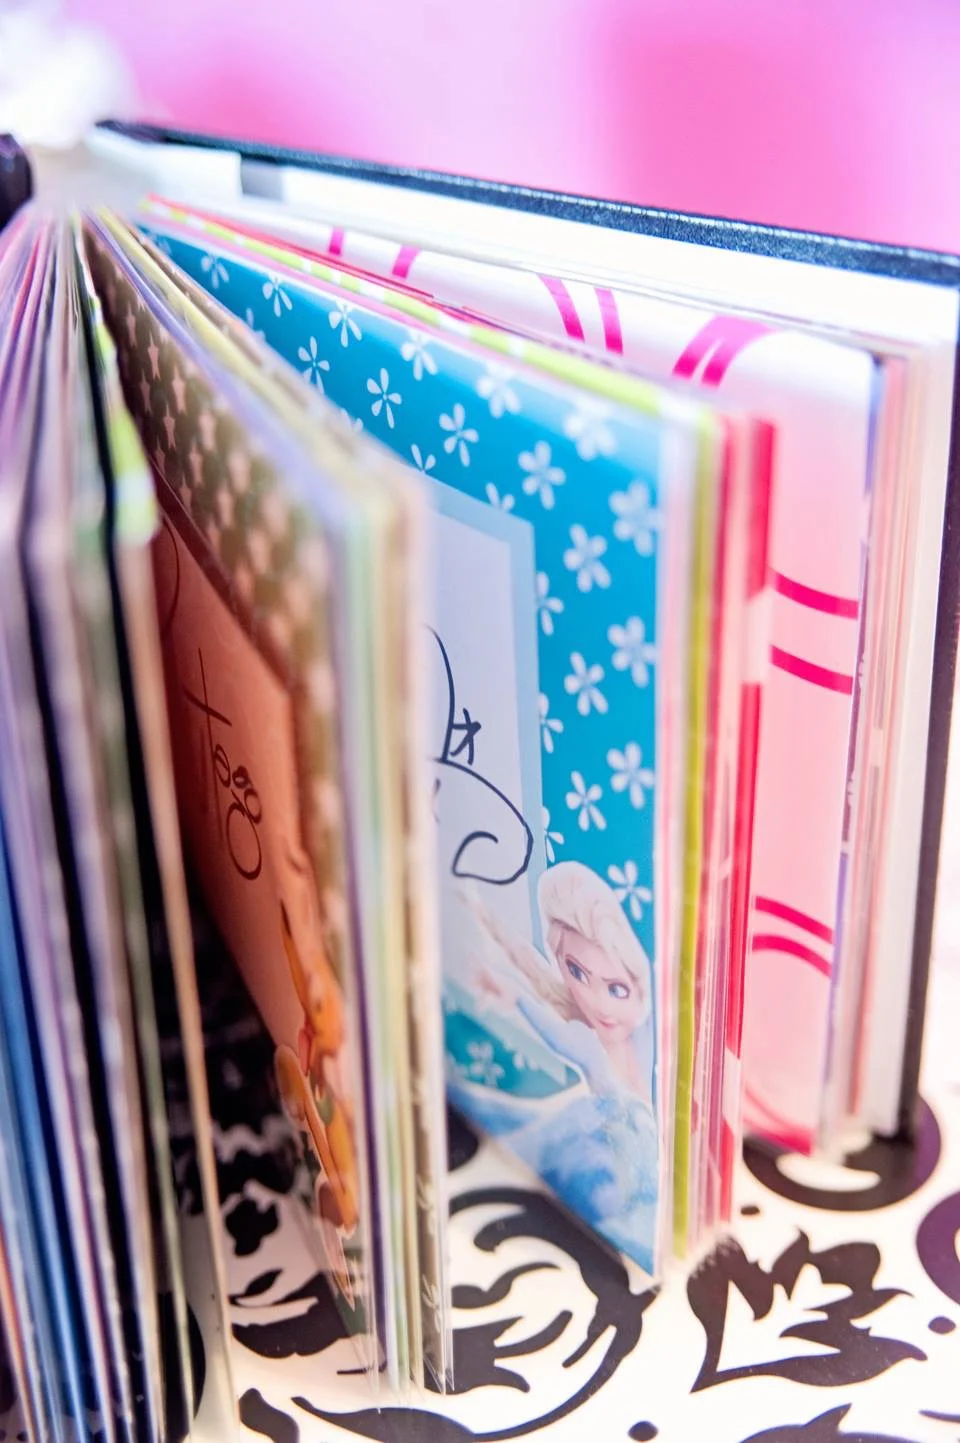
I like to cut one fun background and one smaller solid piece to border the white square that will hold the autograph. If your pages are 8x8, cut a patterned 8x8, a coordinating solid 5x5, and a white 4x4 for autograph. You can use computer paper and stack a few at once to cut less. See pic below!

Glue it all together, placing the printed character clip art on the side of the white space, and you have your autograph pages! Kids can sue glue sticks and really go to town putting it all together.
So where does the scrapbook part come in? And didn’t you say I needed two pages for each character? Yes-you do! Place your autograph page on the right hand side of the book opening. Then, on the left side of the same spread, leave a blank page in the same background paper or a coordinating paper. After your visit, you’ll print the picture of your child meeting that character and simply glue it in and voila! One spread opening will be picture on one side and autograph on the other.
If you’d like to do a white square to glue your picture straight to it, you can do that too…if you’re feeling fancy. That way the picture will have layers behind it too. See pic below!
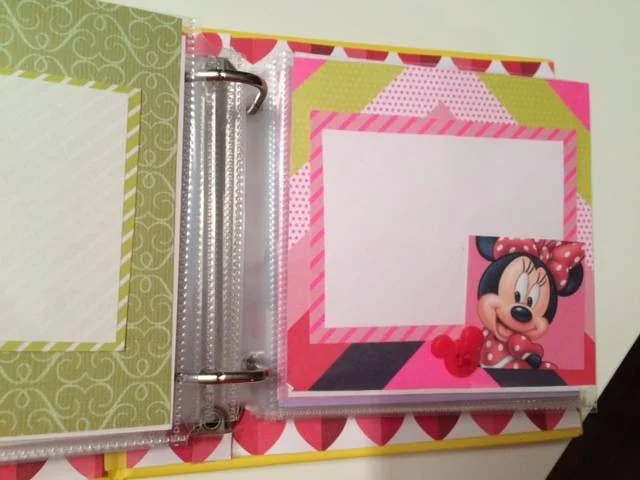
White space on coordinating paper, ready for a pic with Minnie Mouse. Right hand side is for her autograph!
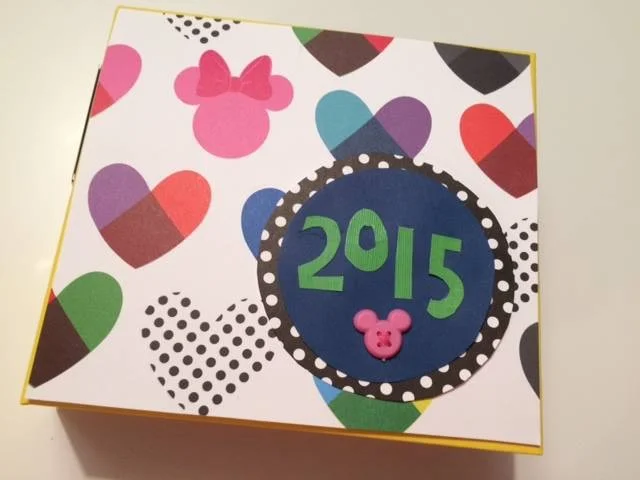
You can also let your kids help decorate the front of the book or the front inside title page etc. Let them pick a paper or colors, and they can use stickers or extra characters and you can simply have the year of the trip included for memory-sake.
I really like using 6x6 or 8x8 photo books because they are super easy to carry around the parks and actually use! Piece of advice…since you’ll be sliding out the autograph page each time you meet a character, put them in alphabetical order. Or, if you don’t want to carry the book with you, simply leave it at home and take out the autograph pages and place in a ziplock bag! Then it’s easy to travel/carry/pull out pages when you need.
In our experience, the characters love to see hand-made autograph books and pages. Kids also have so much pride when having them sign because they had a part in making it and can’t wait to show their favorites what they did! I know it may be much, much easier and quicker to buy the $7.99 pre-made blank page books from the gift shop (and I’ve done that, too!) but making a book together at least once makes for sweet memories and lots of excitement leading up to your trip. And, when you get home and are tired and don’t want to spend time scrapbooking, you can just print up those fun Memory Maker photos and pop them right in.
So, there’s a pre-trip project your kids can actually help with that also doubles as an activity that pumps them up for what fun lies ahead on their Disney vacation.
Now, go have a character adventure! And make some memory magic along the way.